Milking the cow is the most time consuming of the morning chores, it’s also the most peaceful and requires the most preparation.
In this post:
- Preparing for milking
- Preparing the cow
- How to milk
- Hazards
Preparing for milking
Before milking can happen, a number of things need to be prepped:
- the milking supplies
- the grain
- the cows
Up at the house, I gather a bucket of soapy water and a cloth, a small jar of coconut oil (to fit in my jacket pocket), and the milking pail. Once I’ve got my supplies, I bring them down to the cow pen and put them inside the lean-to.
If Tilly was in the lean-to overnight, I move on to the grain. If not, I engage in the process of coaxing her into the lean-to for milking.
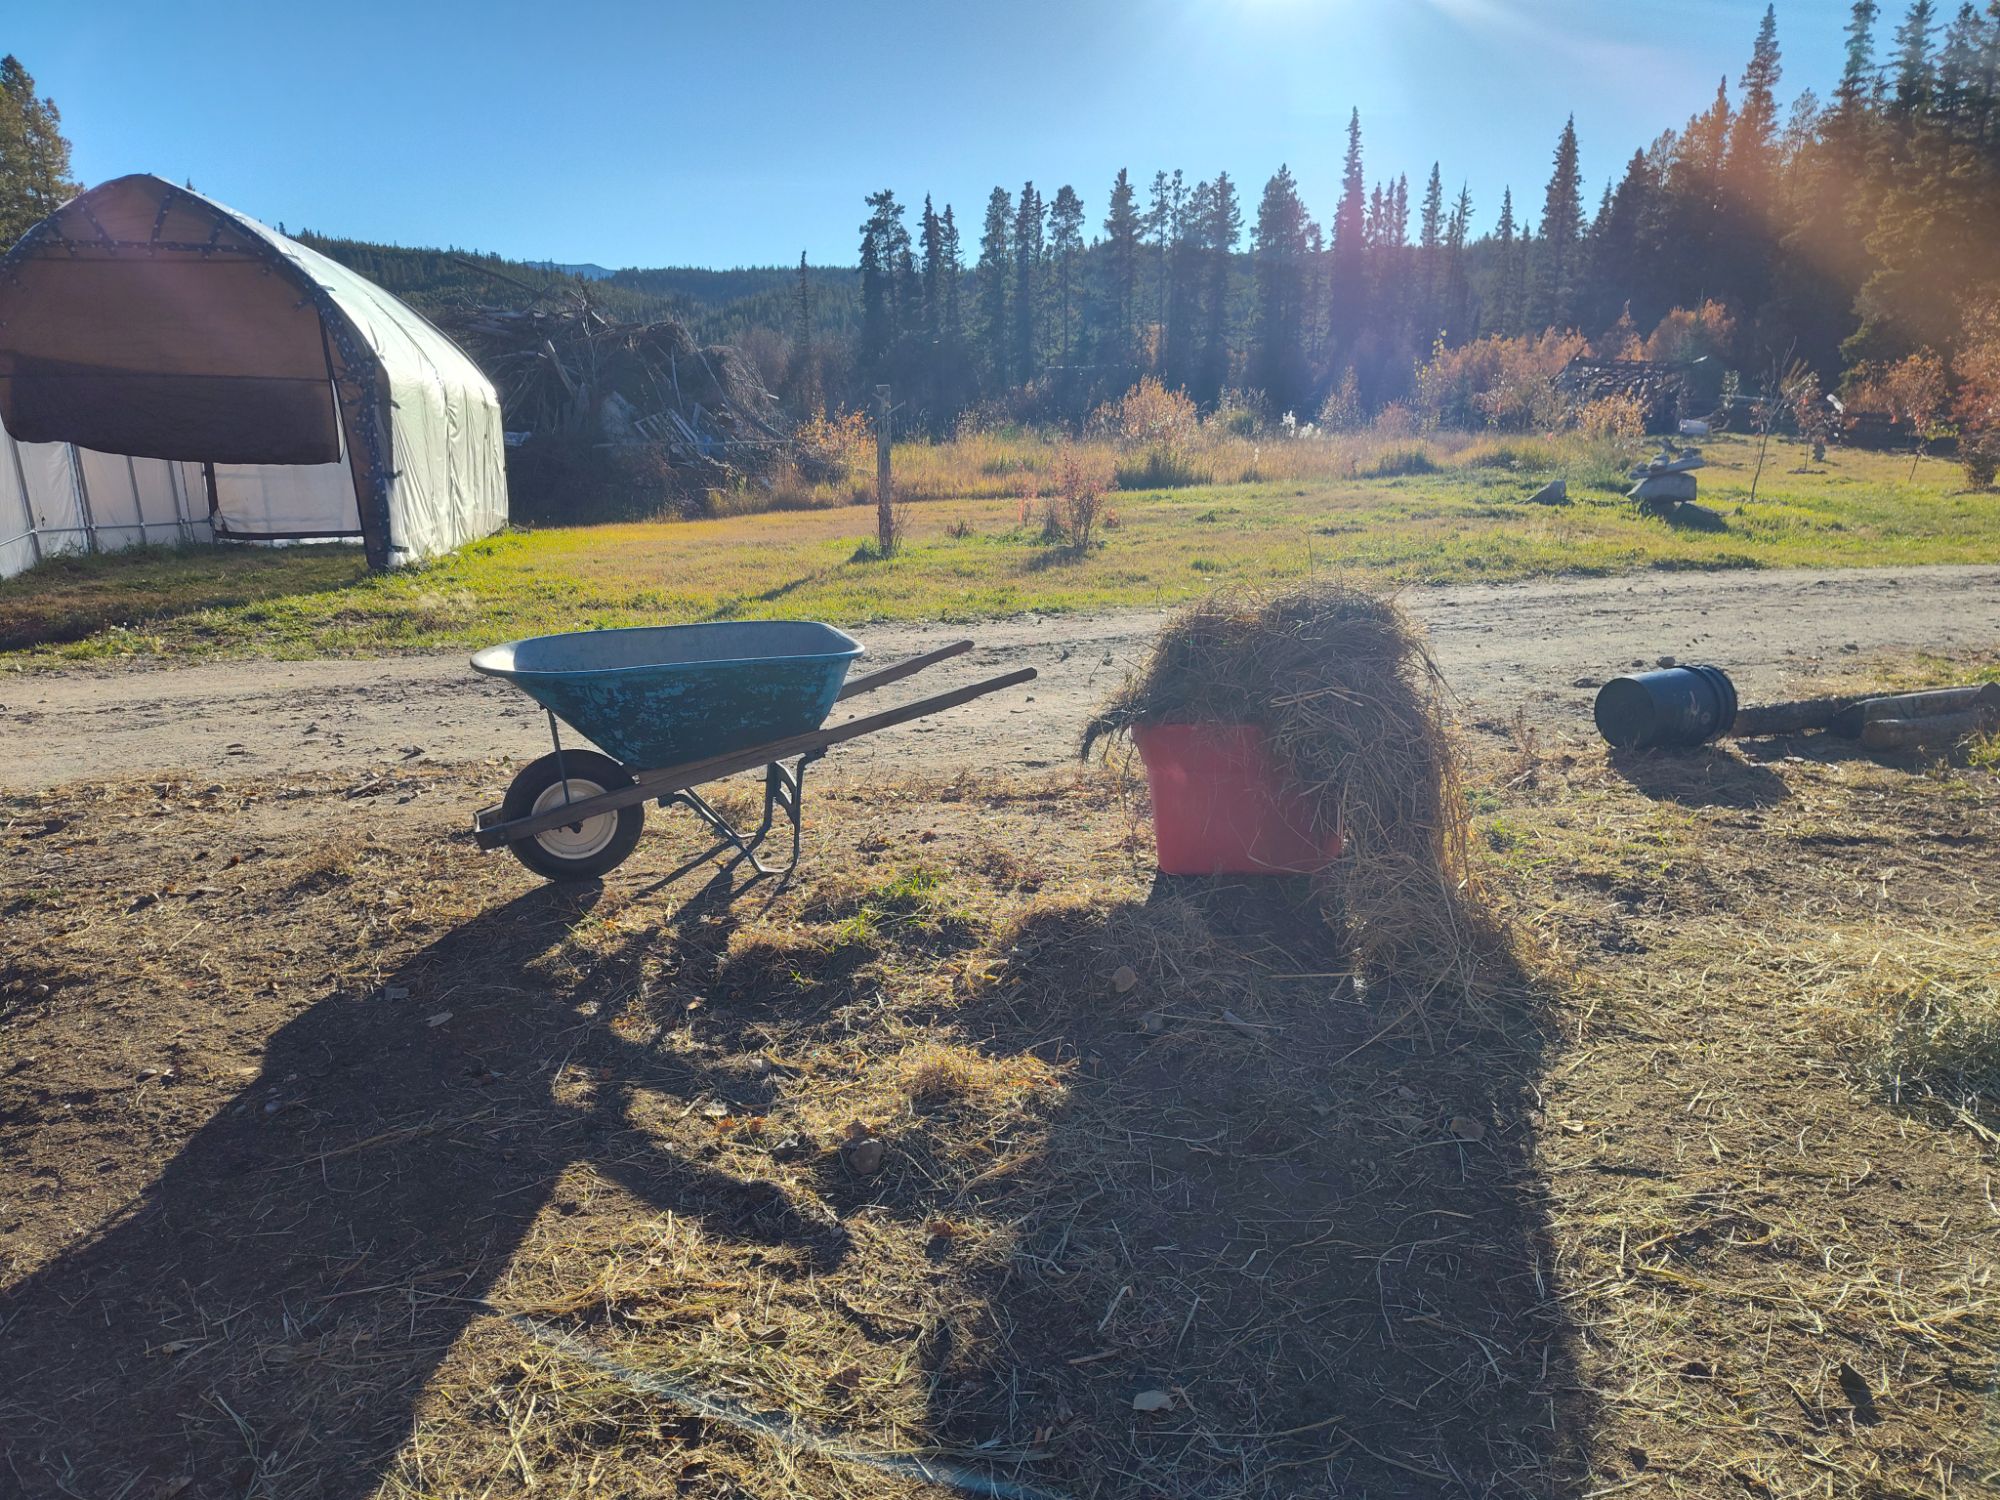
Next, I mix two buckets of grain: one for the milk cow, and one for everyone else. One bucket gets dumped along the back of the fence, to keep the other cows occupied during milking. The feed bowl comes with me into the lean-to.
I set the feed bowl down against the far wall, so Tilly has less space for moving around during milking, then I wait for her to go to the bowl and settle herself in. Once she’s munching on the grain, I set up my stool, with the water bucket and milking pail within reach.
Let the milking commence!
I set the feed bowl down against the far wall, so Tilly has less space for moving around during milking, then I wait for her to go to the bowl and settle herself in. Once she’s munching on the grain, I set up my stool, with the water bucket and milking pail within reach.
Let the milking commence!
Preparing the cow
It’s likely been between 12-24 hours since the last time the cow was milked, which is time the cow has been producing and holding milk. The udder will likely be heavy and swollen with milk and the teats might be leaking. This is normal and similar to lactation in humans.
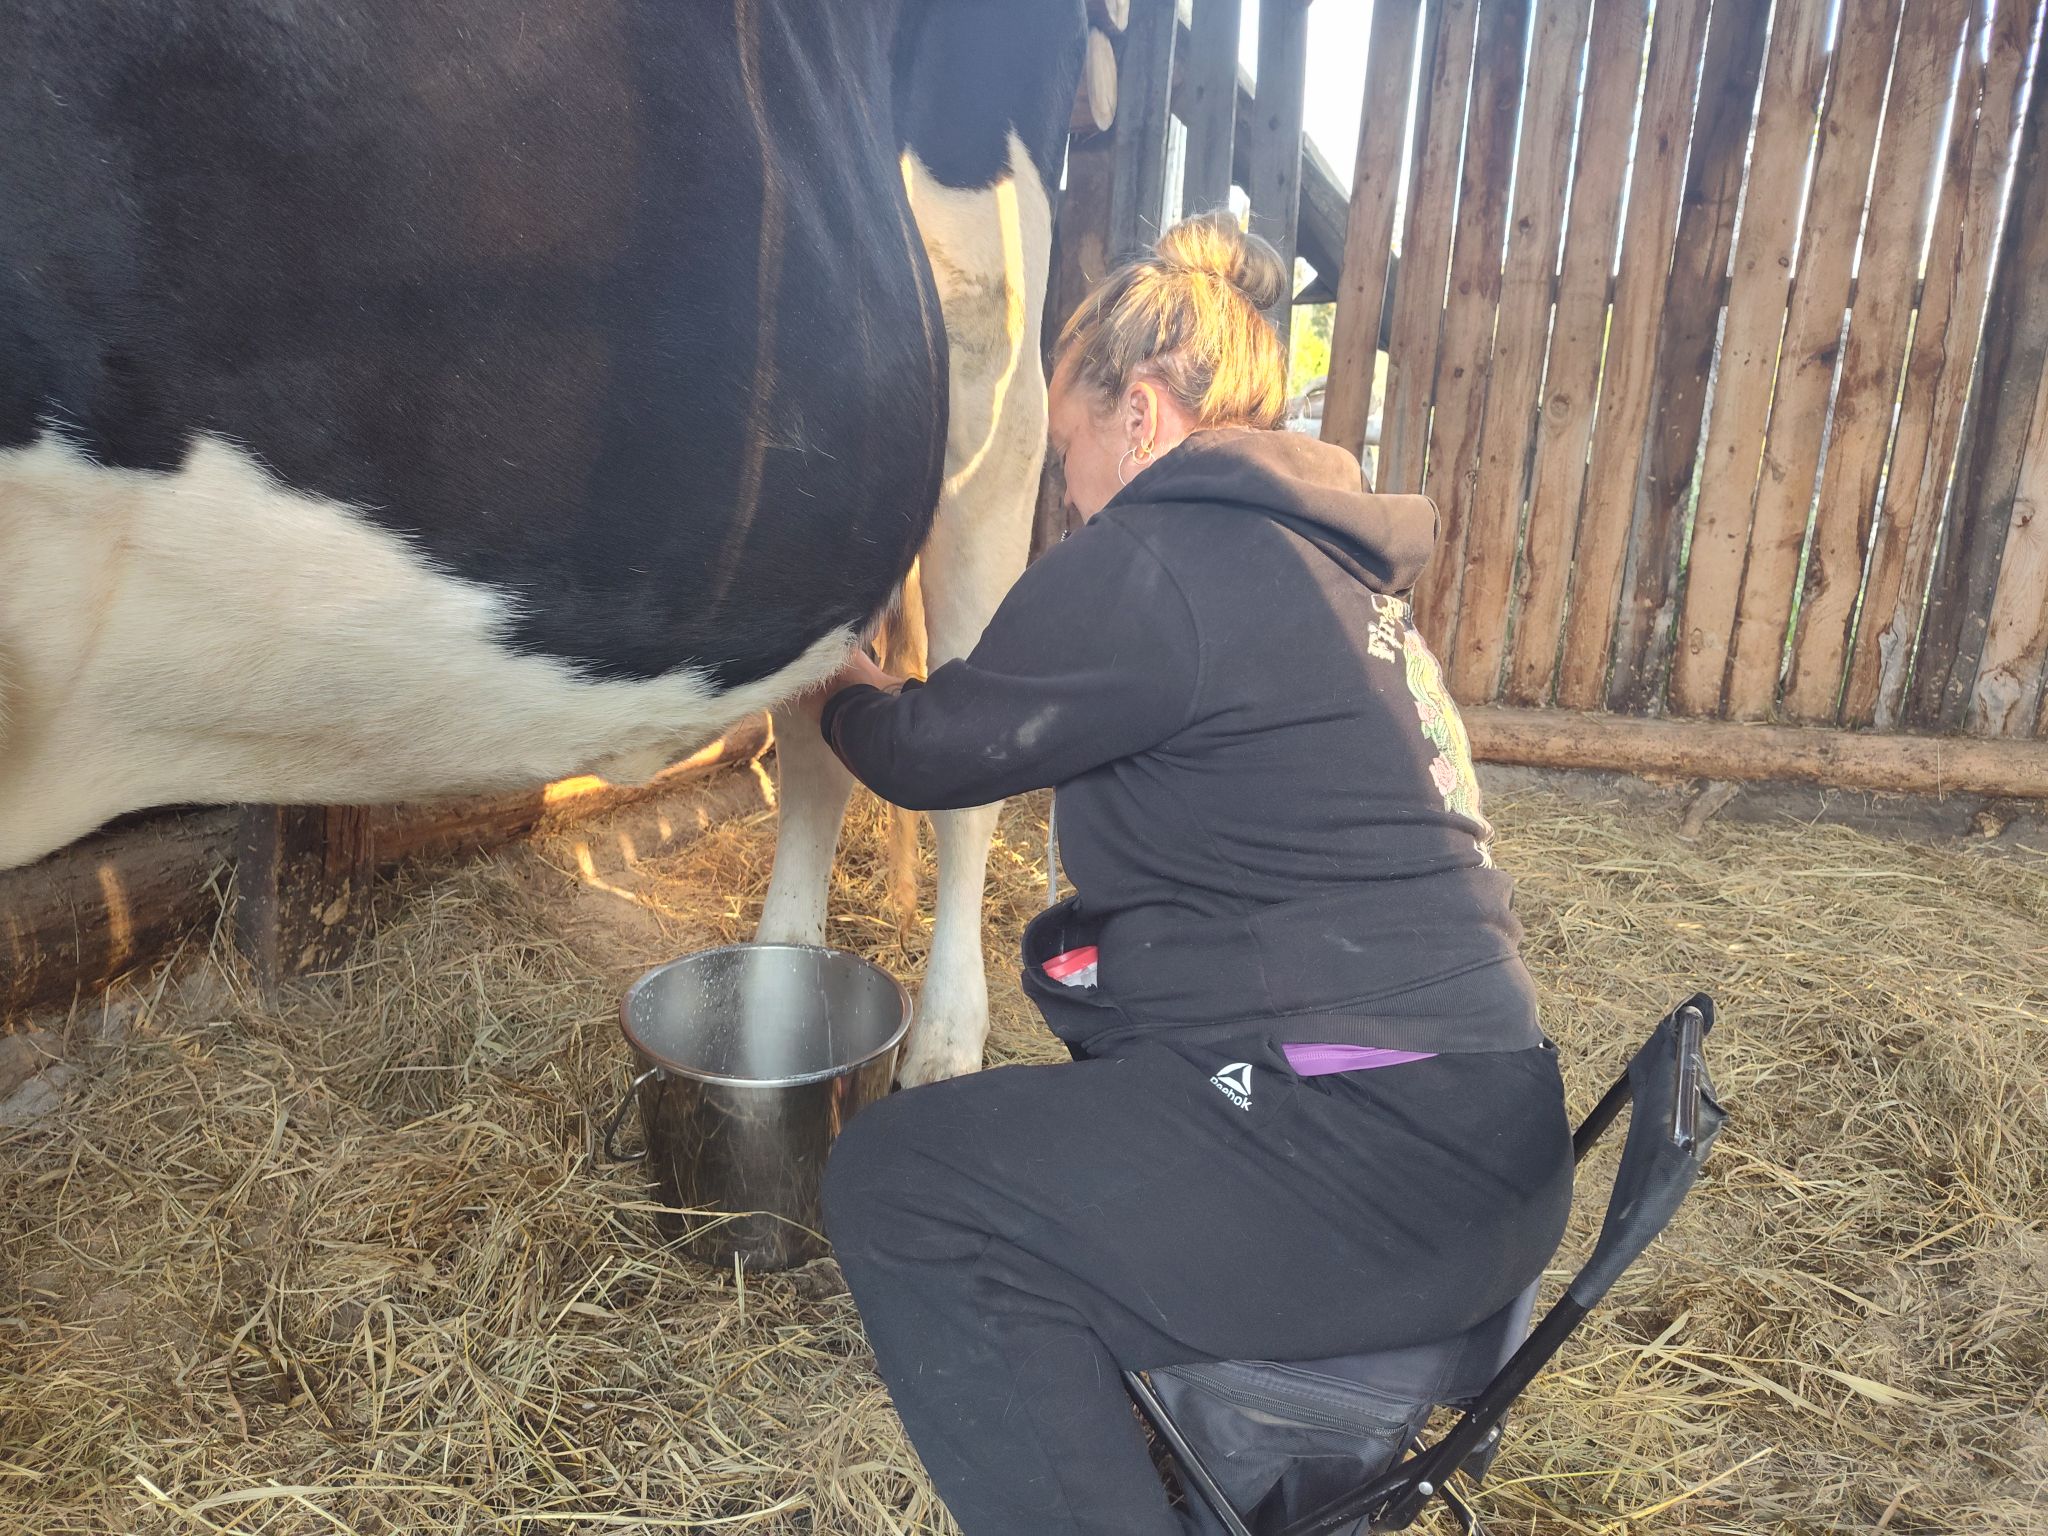
The usual way a cow stands doesn’t provide easy milking access to its udder. It’s ideal for the back leg farthest from you to step forward. That way, the udder hangs in between the forward leg and the back leg, with neither one in the way for milking.
With the cow properly in position, you can clean her teats. The warm soapy water and cloth are for wiping dirt and grime off the teats. In the course of a day, especially wet mucky days, teats can get covered in gunk that then dries and hardens. It’s important to clean this off because anything on the teats can end up in the milk pail during milking.
Once she’s all clean, scoop some coconut oil onto your hands and rub it in, making sure to coat your first two fingers and your thumb – these are the fingers used during milking. Then rub the oil down each teat, coating it.
The coconut oil acts as both lubricant and moisturizer on the teats – facilitating the milking process and preventing the teats from getting chapped.
Now that both you and the cow are ready for milking, pull milk from each teat once and let it run onto the ground. This cleans out the teat canal of any bacteria and let’s you know there are no blockages (if there are blockages, the milk won’t come out of the teat or the stream will be interrupted). Blockages and bacteria can cause mastitis (udder infection), similar to a bladder infection in humans.
How to milk
Milking is a two-handed job; you’re milking two teats at a time. Your first two fingers and your thumb are the only parts of your hand that touch the cow for milking.
Put your first two fingers behind the teat (horizontally) and your thumb in front of the teat, near the top of the teat – right below the udder. Now, firmly press your fingers and thumb together to grip the teat, and pull in a downward motion letting your hand slide toward the end of the teat.
Preparing the cow
It’s likely been between 12-24 hours since the last time the cow was milked, which is time the cow has been producing and holding milk. The udder will likely be heavy and swollen with milk and the teats might be leaking. This is normal and similar to lactation in humans.
The usual way a cow stands doesn’t provide easy milking access to its udder. It’s ideal for the back leg farthest from you to step forward. That way, the udder hangs in between the forward leg and the back leg, with neither one in the way for milking.
With the cow properly in position, you can clean her teats. The warm soapy water and cloth are for wiping dirt and grime off the teats. In the course of a day, especially wet mucky days, teats can get covered in gunk that then dries and hardens. It’s important to clean this off because anything on the teats can end up in the milk pail during milking.
Once she’s all clean, scoop some coconut oil onto your hands and rub it in, making sure to coat your first two fingers and your thumb – these are the fingers used during milking. Then rub the oil down each teat, coating it.
The coconut oil acts as both lubricant and moisturizer on the teats – facilitating the milking process and preventing the teats from getting chapped.
Now that both you and the cow are ready for milking, pull milk from each teat once and let it run onto the ground. This cleans out the teat canal of any bacteria and let’s you know there are no blockages (if there are blockages, the milk won’t come out of the teat or the stream will be interrupted). Blockages and bacteria can cause mastitis (udder infection), similar to a bladder infection in humans.
How to milk
Milking is a two-handed job; you’re milking two teats at a time. Your first two fingers and your thumb are the only parts of your hand that touch the cow for milking.
Put your first two fingers behind the teat (horizontally) and your thumb in front of the teat, near the top of the teat – right below the udder. Now, firmly press your fingers and thumb together to grip the teat, and pull in a downward motion letting your hand slide toward the end of the teat.
Milk will be released the whole time your hand is applying pressure and moving down the teat.
During milking, you will use both hands simultaneously, milking two teats at a time. As one hand is pulling down to milk, the other is moving back to the top of the next teat – and a natural rhythm develops.
Milk will be released the whole time your hand is applying pressure and moving down the teat.
During milking, you will use both hands simultaneously, milking two teats at a time. As one hand is pulling down to milk, the other is
moving back to the top of the next teat – and a natural rhythm develops.
Don’t forget to aim!
The milk doesn’t just naturally fall into the pail. You’re pulling on the teat and that changes the angle it hangs at. You have to intentionally place your milking pail in position that is most ergonomic for your movements, and then you’ll still have to aim the spurts of milk – you are milking a live animal after all – she’s almost certainly not going to stay statue still the entire time.
Milk the cow, alternating teats, until the milk stops flowing.
Move the milk pail out of the way to keep the milk from getting contaminated, and wash the teats again. Coconut oil makes the skin feel colder and can get pretty uncomfortable in breezy or cold weather. So, be kind to your cow and wash her teats after milking.
Hazards
Milking a cow is not a mindless task. There are many things to pay attention to and much that can go wrong while milking a cow:
- Infection
- The cow’s behaviour
- Contaminated milk
Infection
As mentioned above, mastitis or udder infection is a serious risk to the cow. In preparation, this is prevented by making sure the teat canal is clear of bacteria and blockages but it is also prevented during the milking.
Similar to the urethra in a bladder infection, mastitis can occur if fluid is left in the teat canal. Therefore, it’s important to milk the cow every day and to milk her until the udder and teats are all empty. If there’s no fluid sitting stagnant for bacteria to grow, infection cannot develop.
The cow’s behaviour
In some ways, milking a cow is like changing a diaper: just because you’re there getting a job done, doesn’t mean all bodily functions are on pause.
The cow suddenly widening her stance is often the 2-second warning for defecation. Arching her back is the precursor for urination – although, Tilly is usually courteous and shuffles sideways away from you before she arches her back.
Cows are also temperamental animals.
If you’ve ever heard the British slang “stroppy cow” take a minute to think about where that comes from. This insult is describing a female as being bad-tempered, argumentative, and usually stupid, fat, and lazy.
A stubborn bad-tempered cow can kick you, pin you against the wall of the pen, or stab you with their horns (yes, female cows can grow horns). A witless cow can be startled by a breeze and knock you over or trample you. The risk of these outcomes depends on the temperament of your cow but you are under foot of a 1,000lb animal – be prepared to move fast in response to sudden changes.
Contaminated milk
The goal is to get a pail of clean milk from the cow. If any contaminates get into the pail while milking, the milk cannot be used. Splashes from the cow relieving herself, the cow moving her feet and debris from her hooves falling into the pail, or the cow kicking the pail over are the most common ways of spoiling the milk
In conclusion
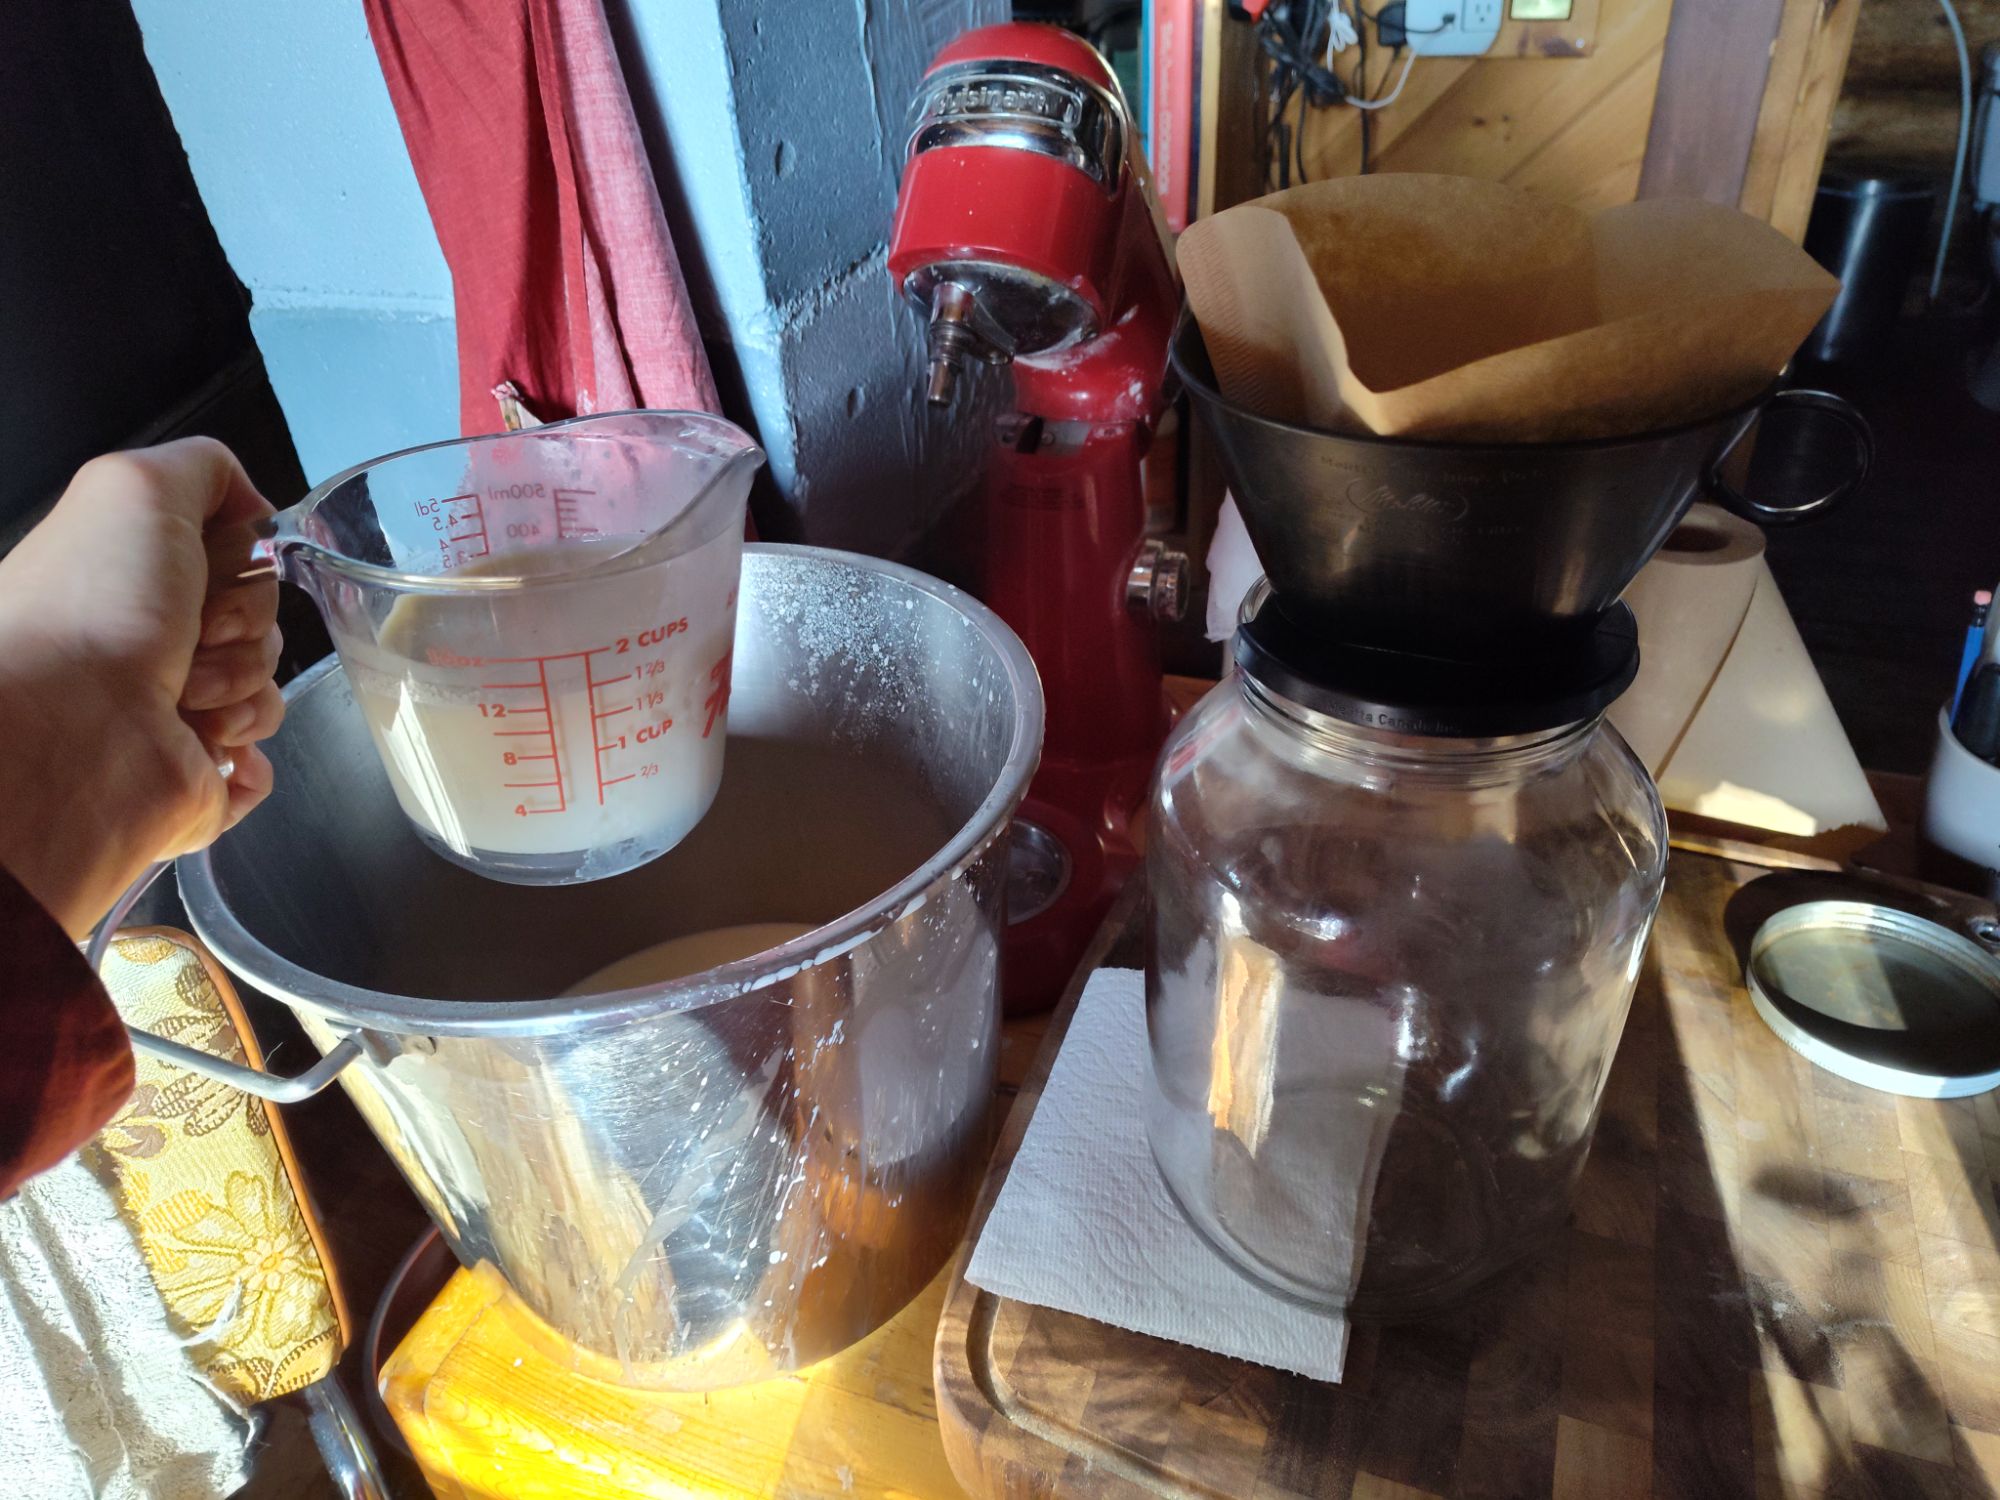
If you’ve managed to avoid all the hazards and got through milking with an unspoiled pail of milk, it’s time to make the trip back to the house to filter and store the day’s raw milk.
Don’t forget to aim!
The milk doesn’t just naturally fall into the pail. You’re pulling on the teat and that changes the angle it hangs at. You have to intentionally place your milking pail in position that is most ergonomic for your movements, and then you’ll still have to aim the spurts of milk – you are milking a live animal after all – she’s almost certainly not going to stay statue still the entire time.
Milk the cow, alternating teats, until the milk stops flowing.
Move the milk pail out of the way to keep the milk from getting contaminated, and wash the teats again. Coconut oil makes the skin feel colder and can get pretty uncomfortable in breezy or cold weather. So, be kind to your cow and wash her teats after milking.
Hazards
Milking a cow is not a mindless task. There are many things to pay attention to and much that can go wrong while milking a cow:
- Infection
- The cow’s behaviour
- Contaminated milk
Infection
As mentioned above, mastitis or udder infection is a serious risk to the cow. In preparation, this is prevented by making sure the teat canal is clear of bacteria and blockages but it is also prevented during the milking.
Similar to the urethra in a bladder infection, mastitis can occur if fluid is left in the teat canal. Therefore, it’s important to milk the cow every day and to milk her until the udder and teats are all empty. If there’s no fluid sitting stagnant for bacteria to grow, infection cannot develop.
The cow’s behaviour
In some ways, milking a cow is like changing a diaper: just because you’re there getting a job done, doesn’t mean all bodily functions are on pause.
The cow suddenly widening her stance is often the 2-second warning for defecation. Arching her back is the precursor for urination – although, Tilly is usually courteous and shuffles sideways away from you before she arches her back.
Cows are also temperamental animals.
If you’ve ever heard the British slang “stroppy cow” take a minute to think about where that comes from. This insult is describing a female as being bad-tempered, argumentative, and usually stupid, fat, and lazy.
A stubborn bad-tempered cow can kick you, pin you against the wall of the pen, or stab you with their horns (yes, female cows can grow horns). A witless cow can be startled by a breeze and knock you over or trample you. The risk of these outcomes depends on the temperament of your cow but you are under foot of a 1,000lb animal – be prepared to move fast in response to sudden changes.
Contaminated milk
The goal is to get a pail of clean milk from the cow. If any contaminates get into the pail while milking, the milk cannot be used. Splashes from the cow relieving herself, the cow moving her feet and debris from her hooves falling into the pail, or the cow kicking the pail over are the most common ways of spoiling the milk
In conclusion
If you’ve managed to avoid all the hazards and got through milking with an unspoiled pail of milk, it’s time to make the trip back to the house to filter and store the day’s raw milk.
What’s Next: filtering and using the raw milk
That’s all for now. Until next time, thanks for visiting, shanti, and happy reading!


Leave a Reply